
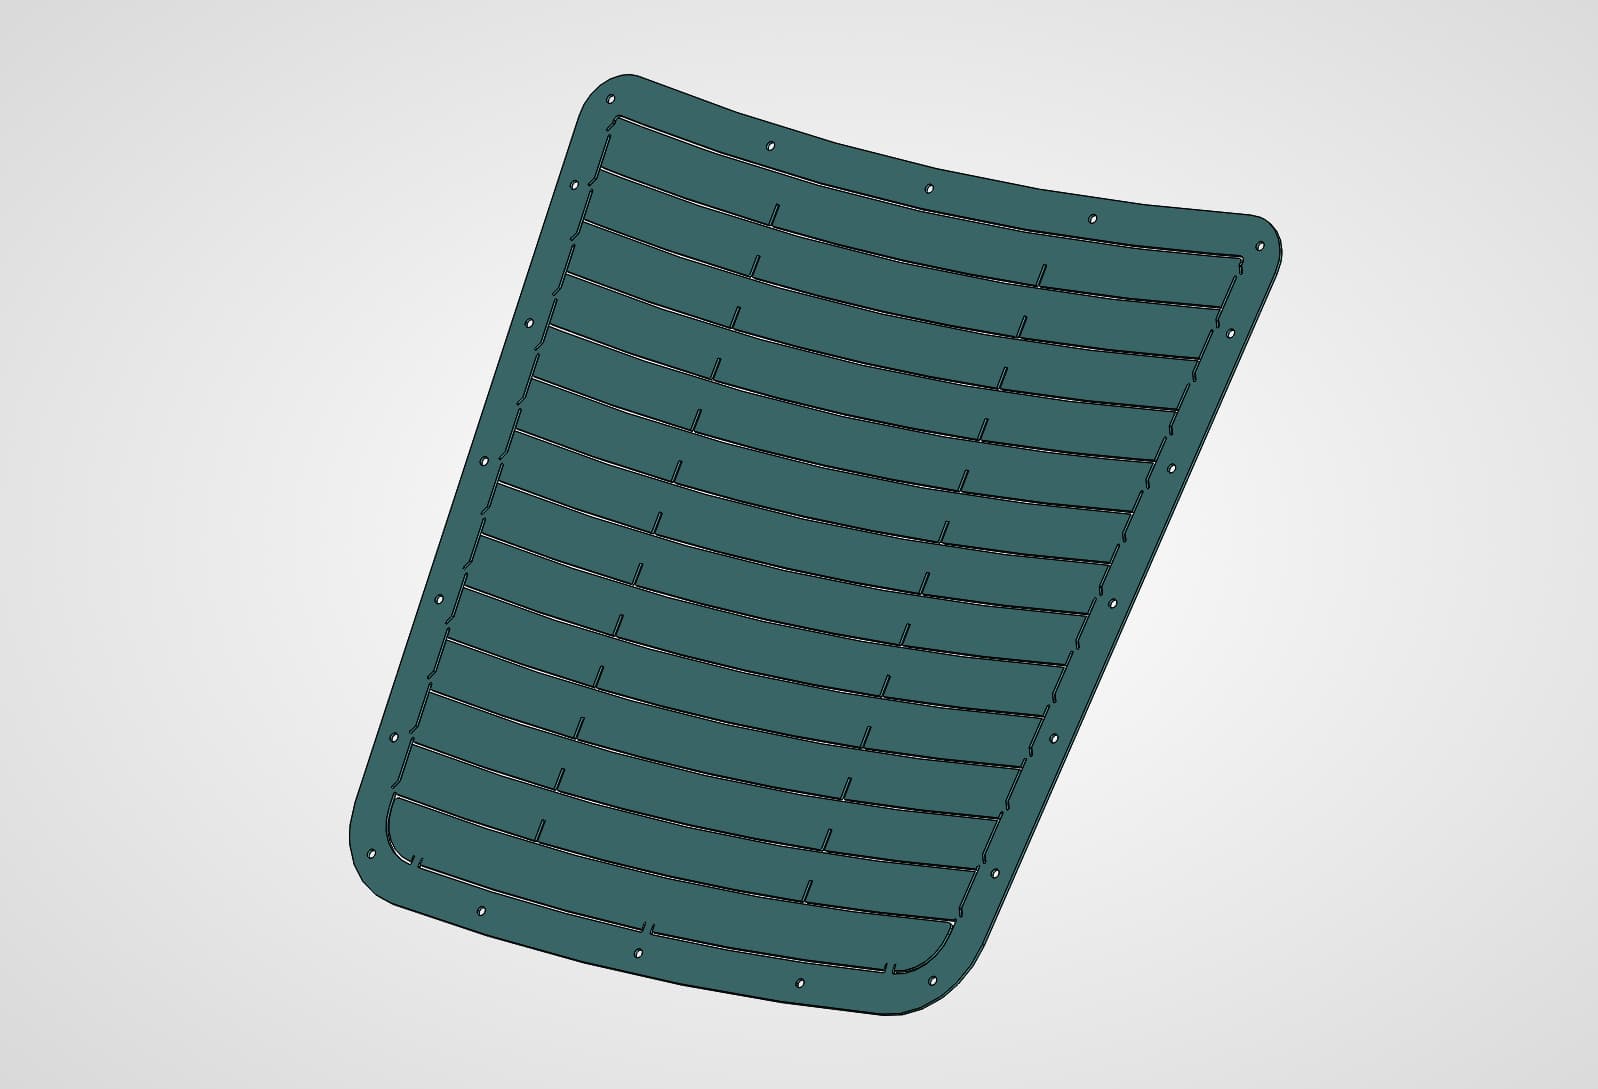
C5/C6 Center Hood Vent
Beat the heat with a big hood vent!
C5 Center Hood Vent - DIY!
A center hood vent is an excellent way to extract a ton of heat and high pressure air out from under the hood!
Features
- Reduces fluid temps
- Settles front end of car somewhat at higher speeds
- Easy to install
- 3 available styles
As you can see, I went with the small louver/gurney style, and thus, that's the only one I've tested. The larger vent style may work better or worse, I just haven't gotten around to finding out.
Where to get
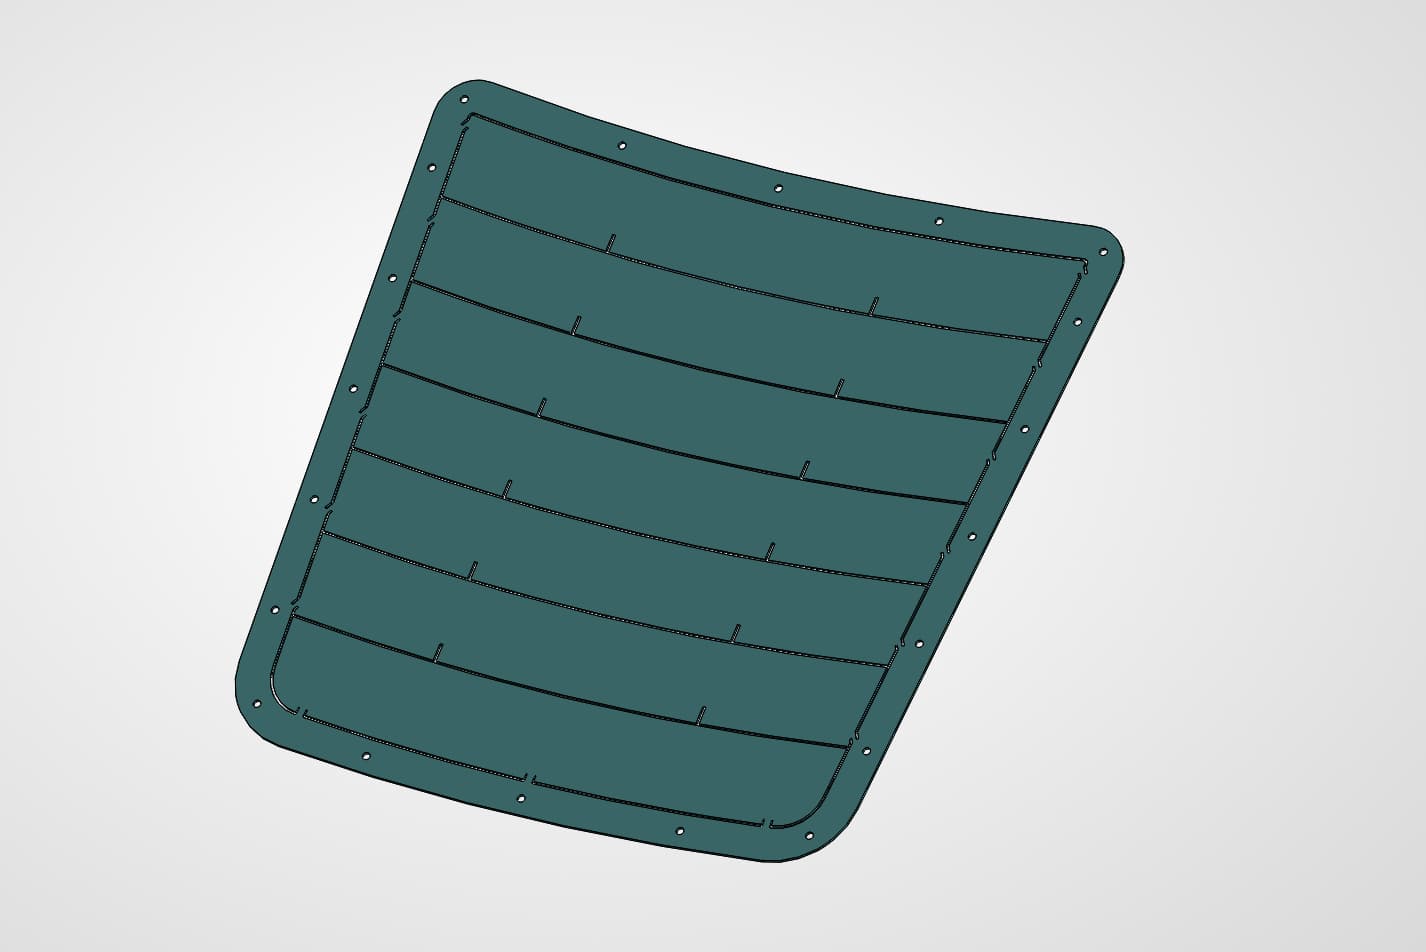
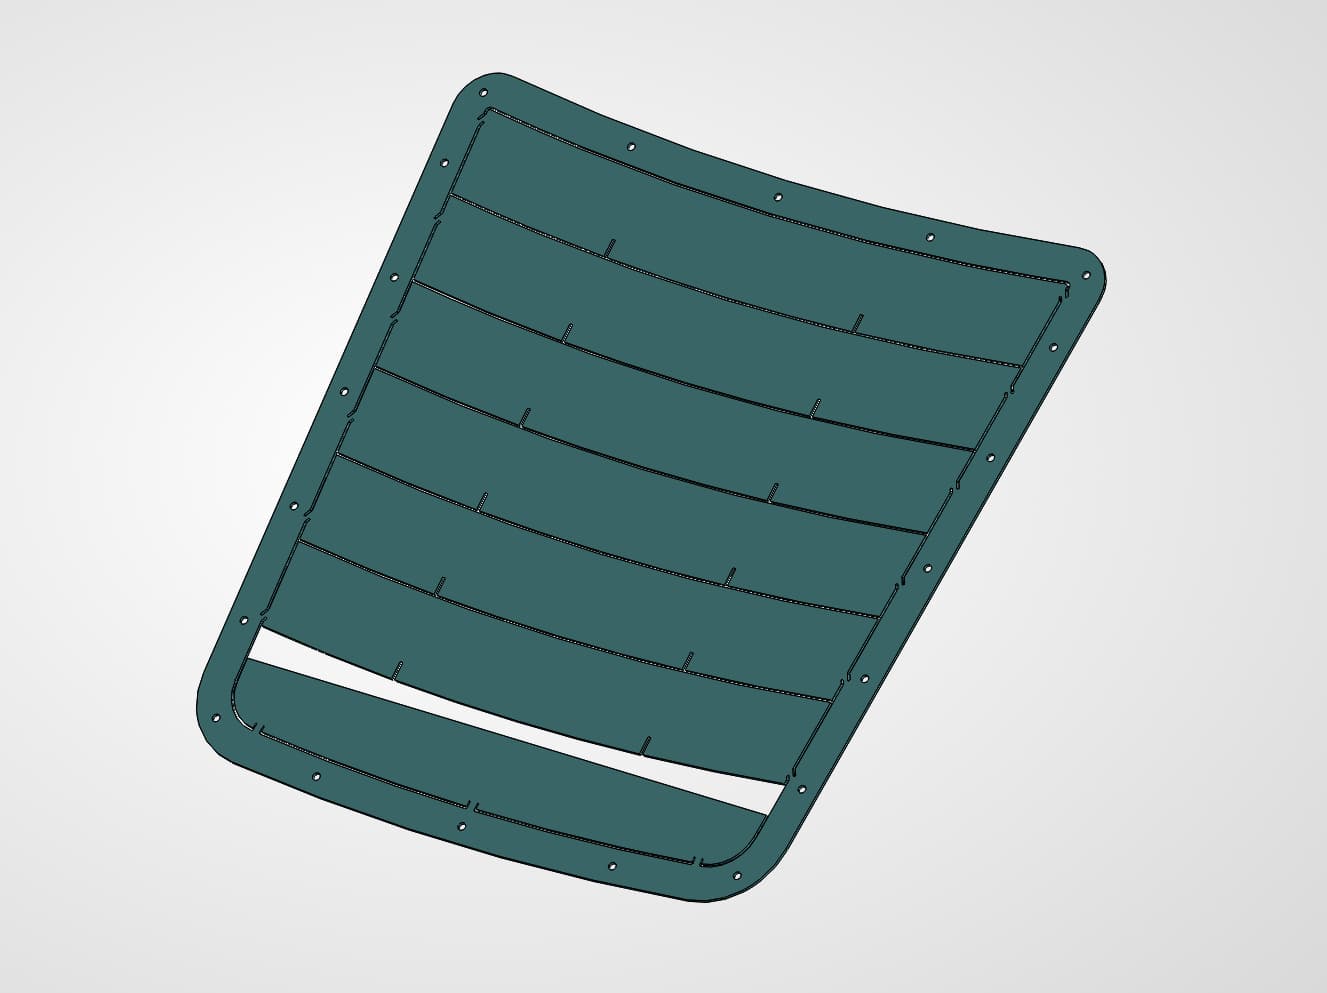
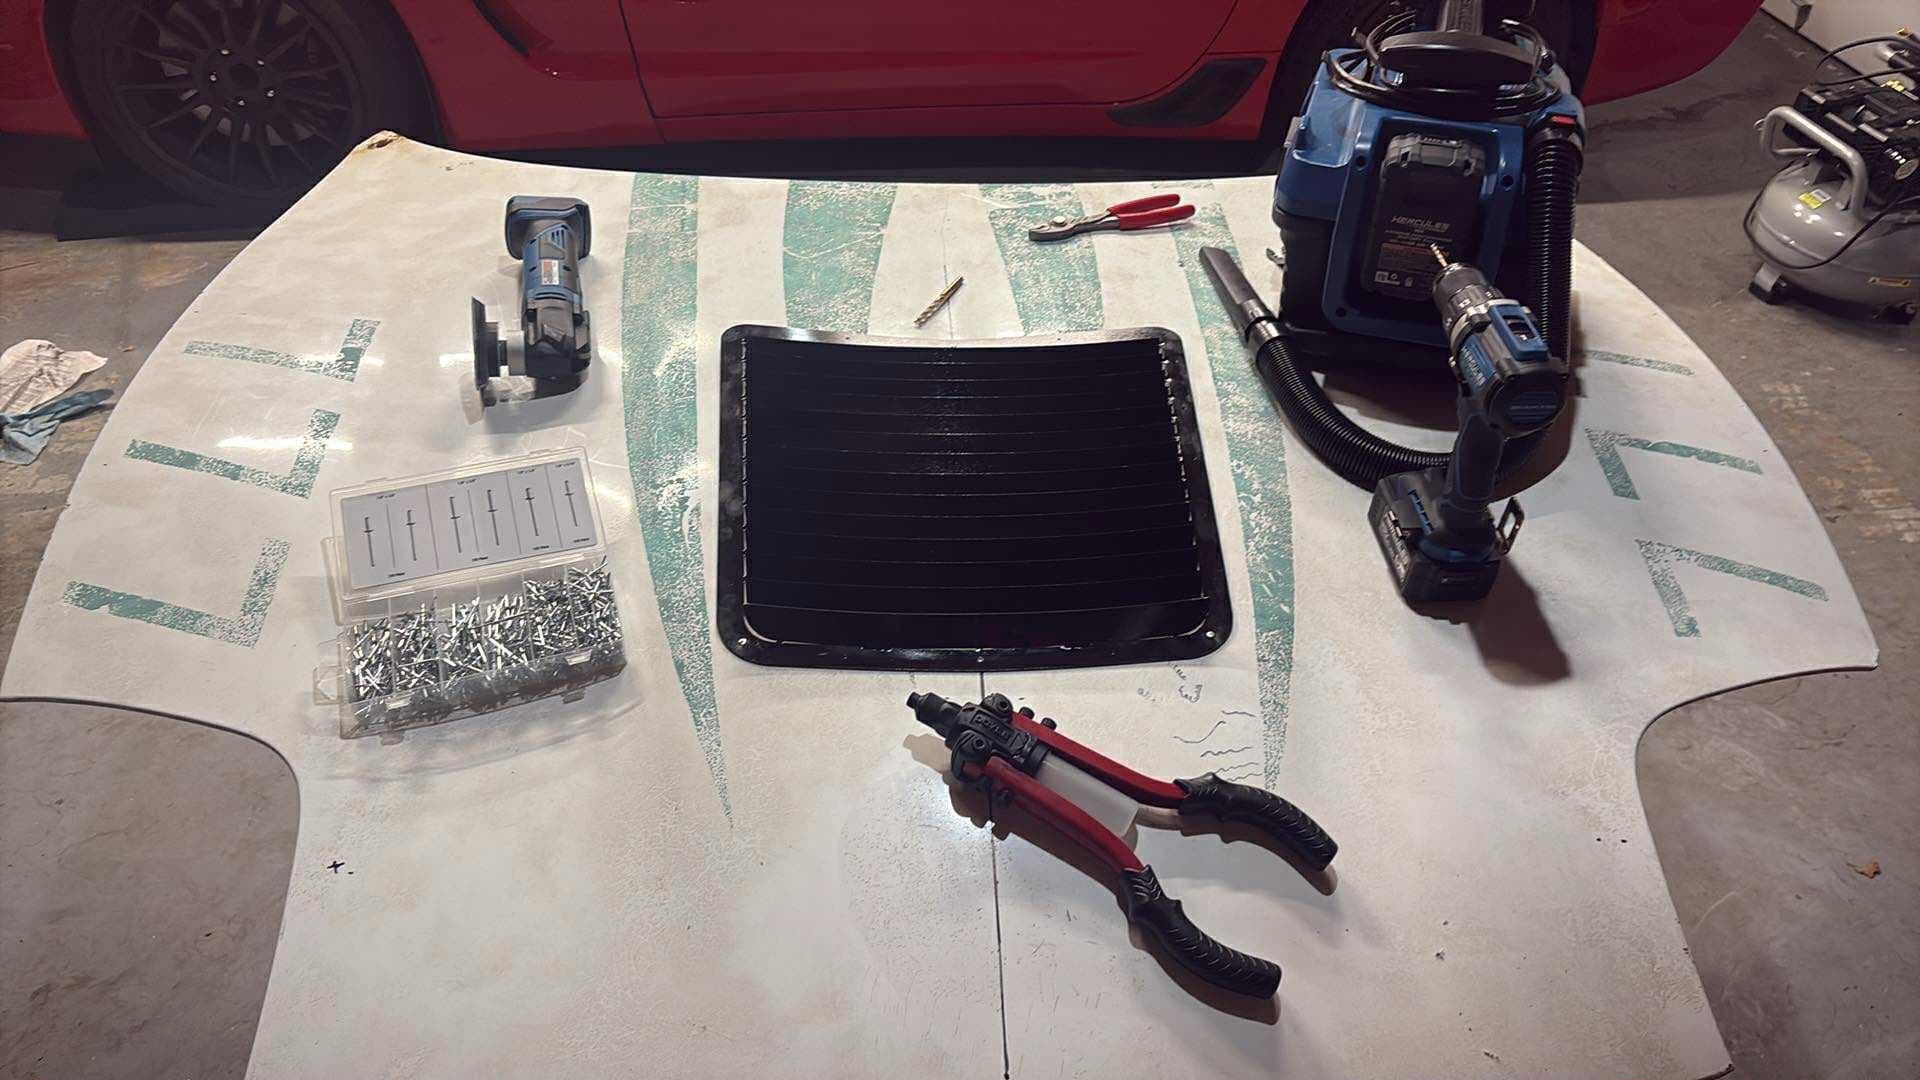
This kit is open source and licensed under CC-BY-NC-SA. You can download the .DXF to cut it out yourself, upload it to SendCutSend or other machining service provider, or purchase a ready-to-go kit from me directly. Link to the vents: millsymotorsports.com/free-parts Aside from the plates themselves, you will also need:
- 20x 3/16 tri-split rivets OR you can use bolts/nuts!
- Sharpie marker for layout
- Tape measure for layout
- Cutting tool (I used an oscillating multitool)
- Straight edge of some sort
- Saw horses
Sadly, these do require a bit of welding. I include 2 spots for some cross slats that support the middle sections of the louvers. I TIG welded mine but a small MIG welder would work great too. You just put a tack weld at every louver-slat connection. The slat DXF provided needs to be extended another 2 inches for the SMALL louver version. The instructions are post-assembly of the hood vent. See step #2 for template advice. I actually used steel to make these, .074" thick. The twisting stress between the louvers and the frame around them is pretty high, so I went with a material that's a bit more fatigue resistant in that area.
Installation
Wear a particulate mask to protect your lungs!!!
This installation isn't bad at all.
- Place your hood on some saw horses. Makes it easier to work under if necessary.
- I suggest using the flat steel hood vent, pre-bending, to either make a template in cardboard with your sharpie. You can also use the vent itself as a template!
- Using the tape measure, find the center line of your hood and mark it in 2 spots.
- Using the straight edge, align it with your 2 marks and run your sharpie between them, making a line.
- Place your cutting template center on the marker line, and trace out what hood material needs to go. I believe the general suggestion is to make the edge of the hood vent between 16"-20" up from the leading edge of the hood, but double check me on that.
- Using the oscillating tool, start cutting out the material.
- After you remove the center portion of material, try to fit the hood vent in the new hole. At this point, I would carefully bend the louvers up, decreasing the angle of each subsequent louver as you move towards the back of the vent.
- Align the 2 rivet holes that are placed in the center around the edge of the vent with the remaining marker line.
- Clamp, tape, or have a friend hold the vent down while you drill these 2 holes. Make sure it doesn't move! These are pretty important for alignment.
- After those holes are drilled, you can rivet the hood vent on and drill the rest of the holes.
- Clean up and enjoy your new hood vent!