
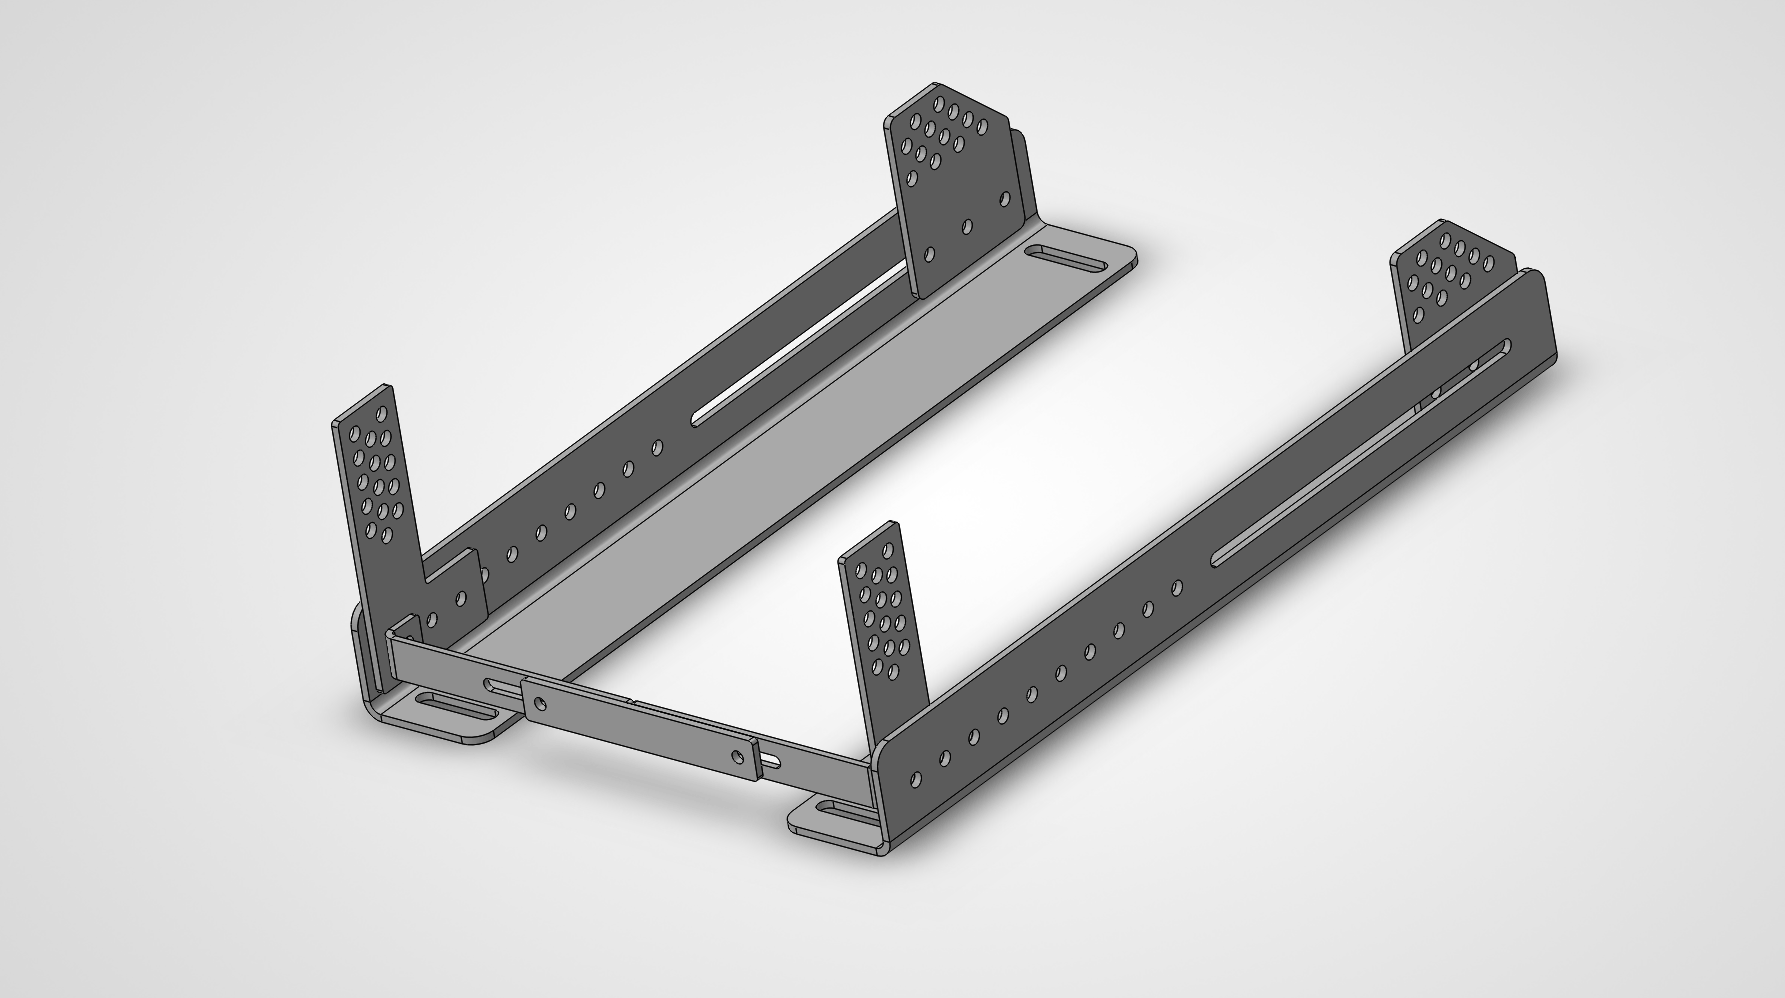
C5/C6 Corvette Seat Bracket
Upgrade your seat with an affordable, DIY seat bracket!
C5/C6 Seat Bracket Kit - Fire Extinguisher mount too!
I needed a seat bracket for my car, bad. The stock seats just absolutely do not cut it for anything more than a leisurely cruise, as comfortable as they may be.
WARNING: I removed the seat studs and replaced them, AND use a C6 seat belt. Some trim material removal might also be required. FWIW, I used a Racetech RT1000. It fit but it was tight. Super comfortable though.
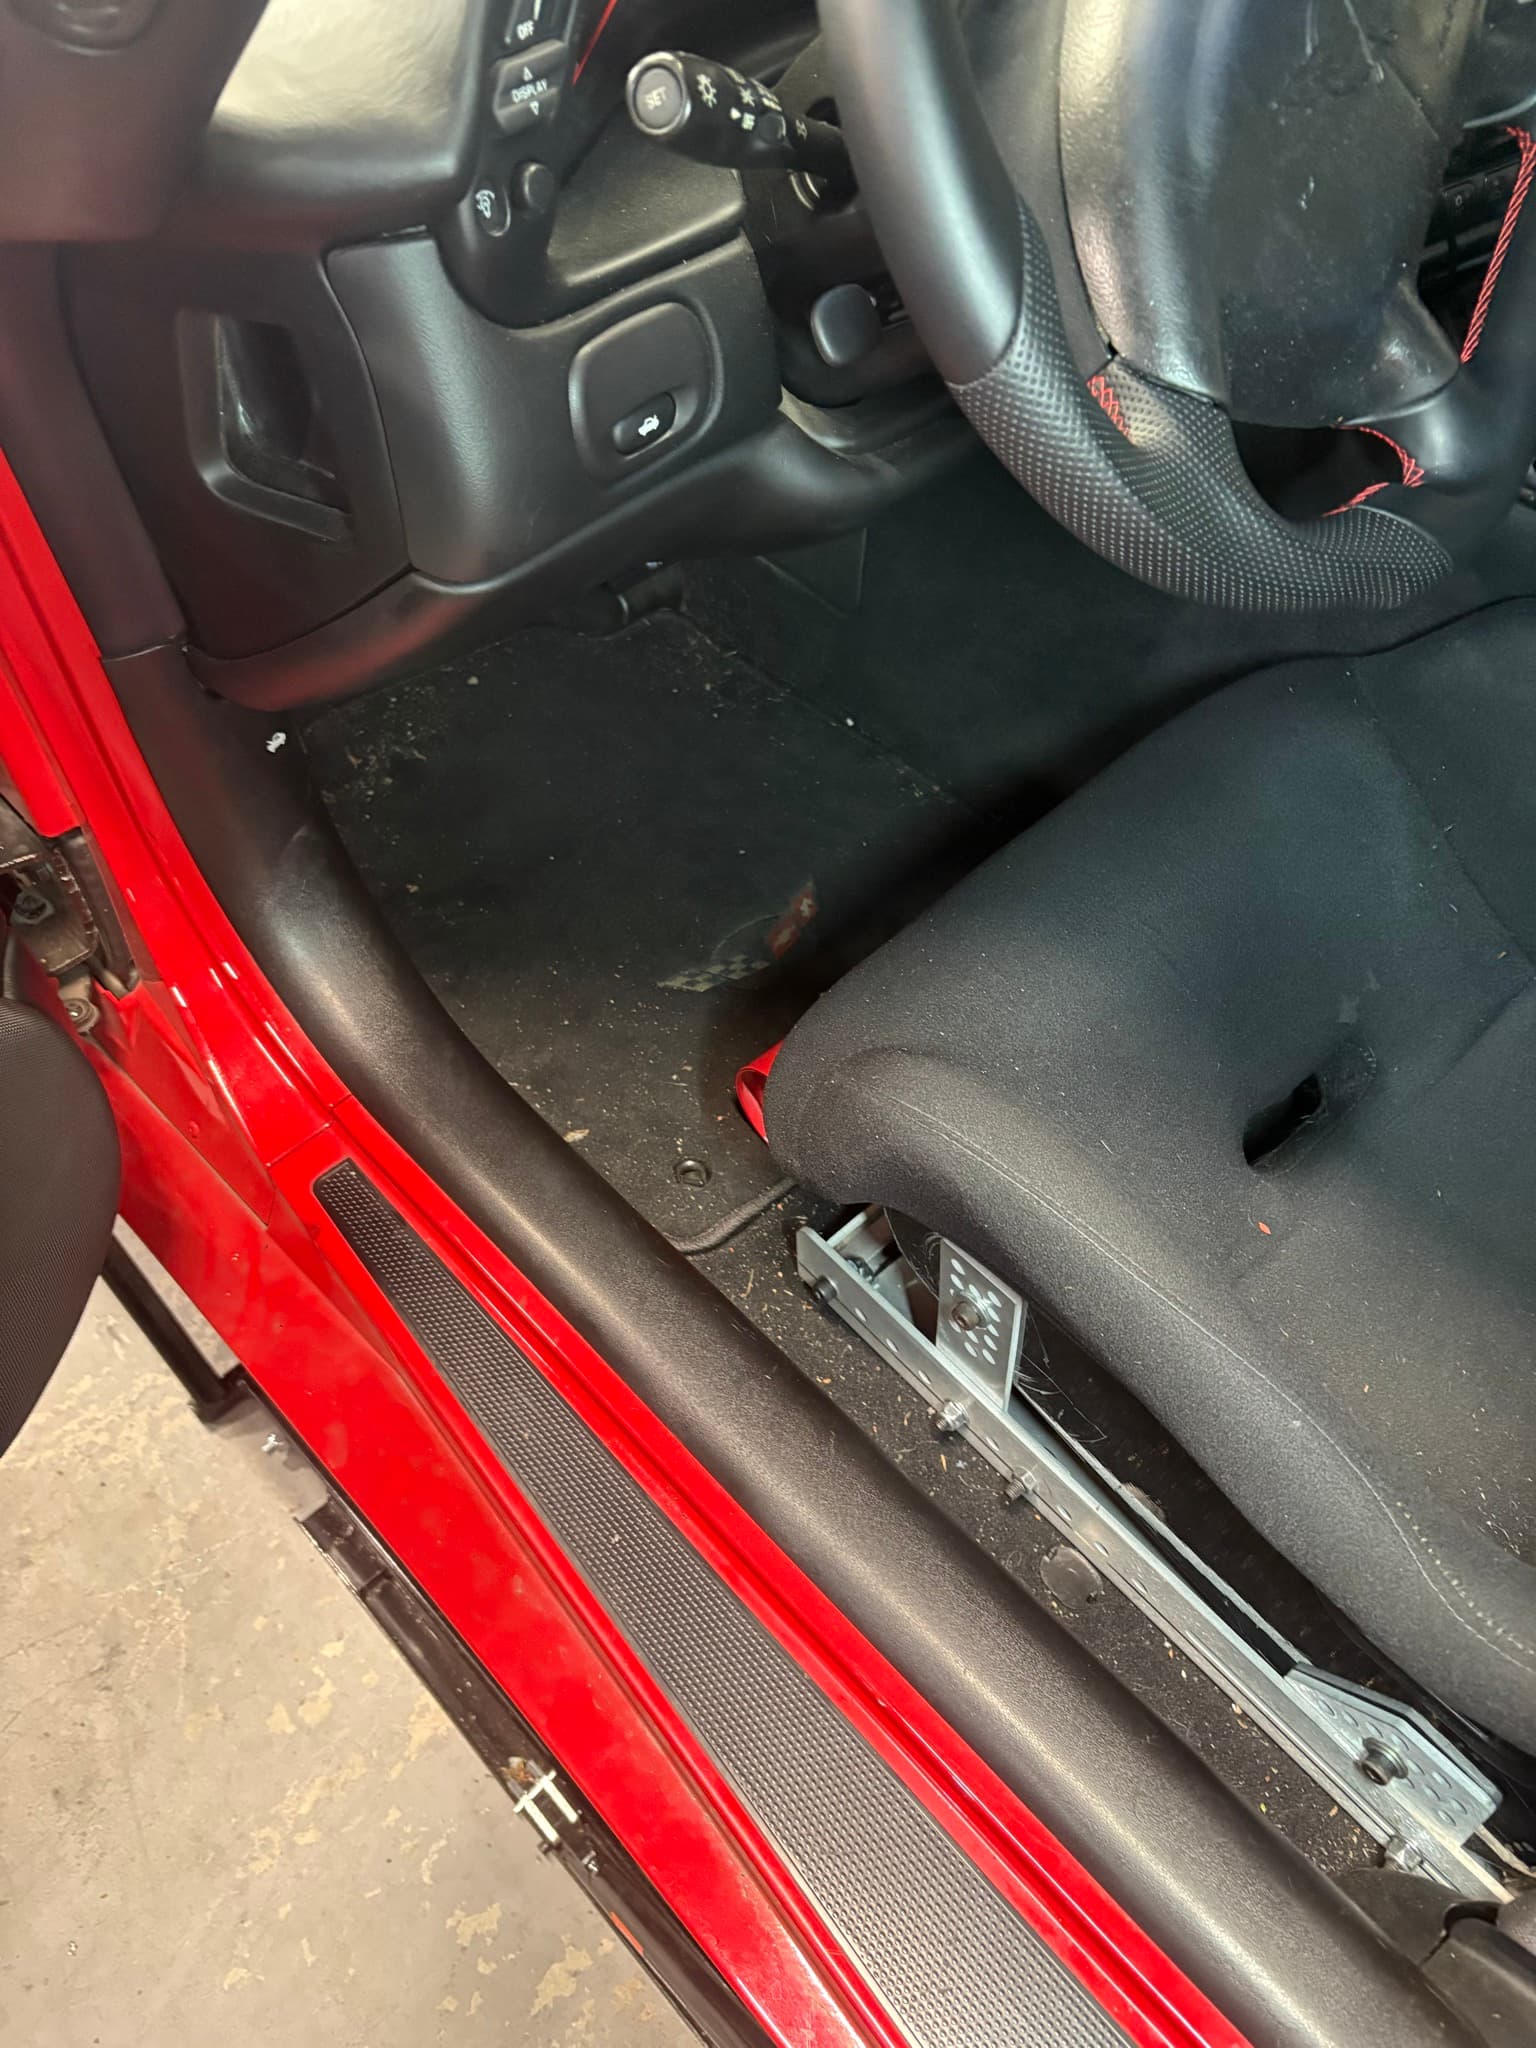
Features
- Easy to install, bolt your seat to it and throw it in the car
- Can make it out of steel or aluminum, just make sure it's thick enough! (I'd recommend at least .100" for steel and .188" for aluminum, but DYOR)
- Cheap and easy to make
Hardware required
Pretty simple stuff here, but I'll warn you now: this requires you to knock out the factory studs, unless you purchase something like AMT's stud extenders.
- 4x M10x1.5 @ 45mm long button cap screws (I used stainless, not required though)
- 4x stainless M10 fender washers (also not required to be stainless but it works)
- 12x regular or zinc plated steel flat washers
- 4x M10x1.5 nuts
- 8x M10 flange nuts
- 8-12x M8 socket head/button head cap screws - length depends on what material you use, Basically anything around 1" should work but double check!
- 16-24x M8 flat washers
- 8-12x M8 nuts
- Medium strength threadlocker
Please note that the hardware arrangement I'm presenting here is not technically required, but I thought would be better than placing the bracket in a bunch of tension, relying on the nut to cinch it down to nothing (because the stud base is recessed into the car's floor, and the bracket sits on top of the carpeted area) Maybe it's better to make it into a spring - but with this hardware stack, you can adjust that with the 2 upper flange nuts. I'll have an image representing the stack here but it's pretty simple.
Installation
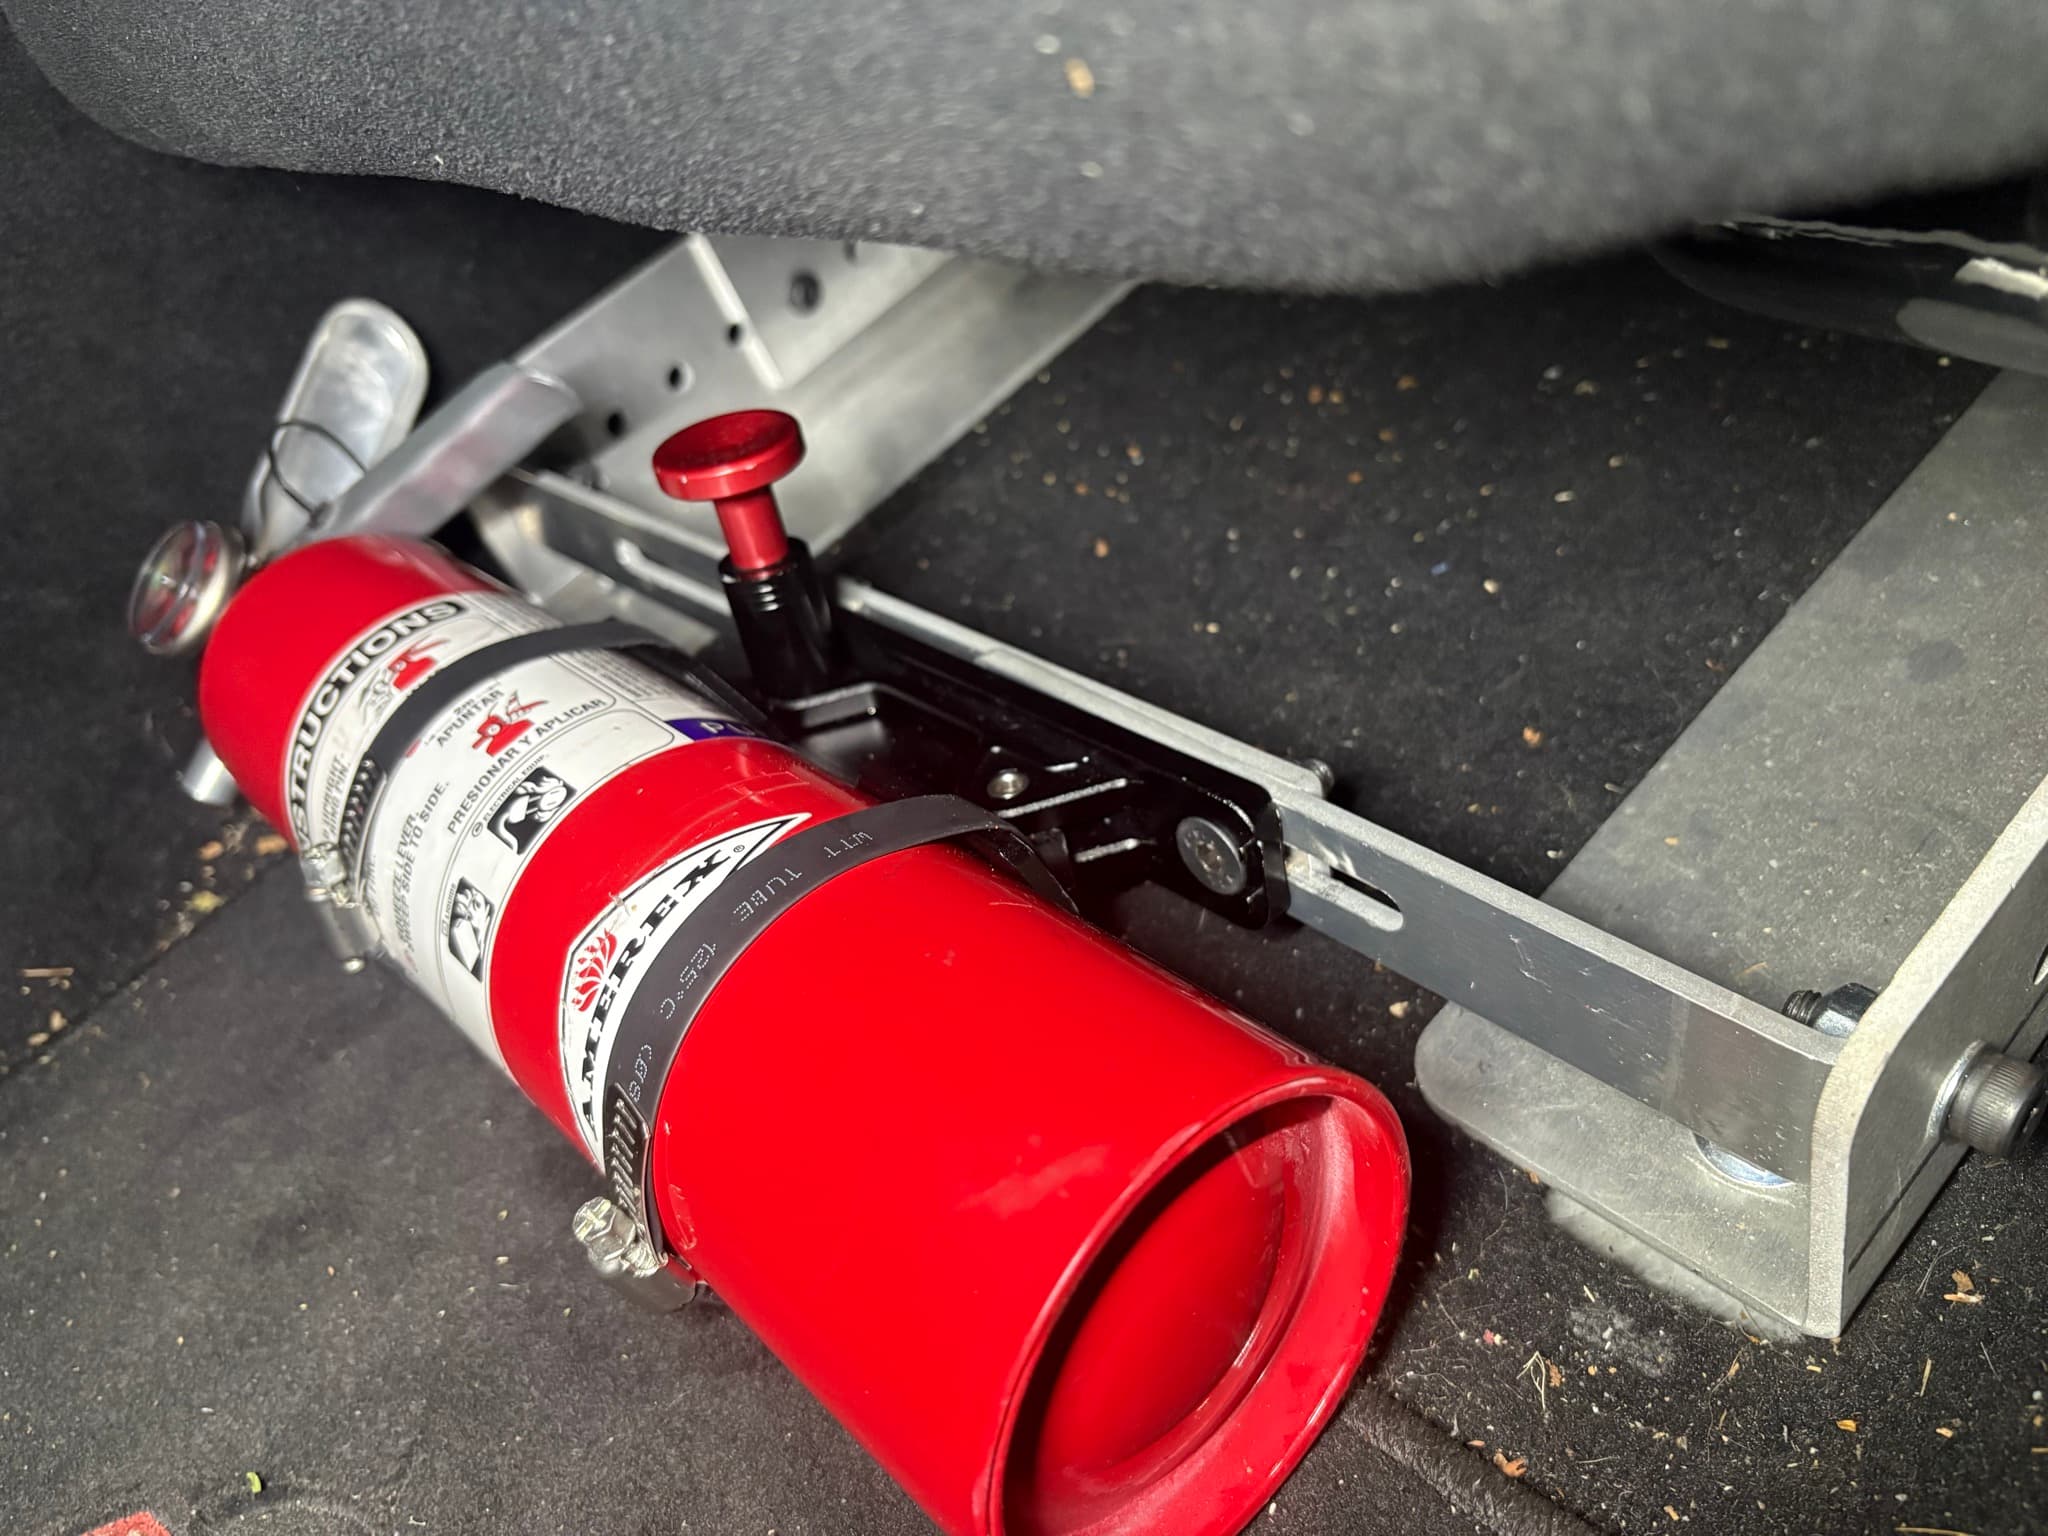
Heads up: Just throw a little bit of loctite on all the nuts you're gonna use when installing.
Install is pretty easy - You need to lift your car off the ground. Then grab a socket that will fit over the head of the seat studs, and using a floor jack or bottle jack, support the area around the head of the stud. Don't go crazy with the jack's pressure, it just needs to hold it in place. After that, grab your favorite BFH and smack the threaded portion you can see of the stud - It should pop right out.
After that, remove the socket and jack. Insert the M10 BHCS from the bottom up into the cabin, with a fender washer under the head. Using your other hand, place a zinc or steel washer with an M10 nut on the other side, and tighten it down. Replacing the 2 studs closest to the edge of the car are pretty easy, but it helps a lot to ask for some help on the inner 2 stud replacements. After you've got all 4 bolts/replacement studs installed, take the seat brackets and see where the first 4 flange nuts need to go. Run them to just below the place of the floor. Next, the seat adapter brackets to the rails where you think you'll like them - then attach the seat to the settings on the seat adapter brackets. I don't suggest any hardware for the seats because I'm not sure they're all the same thread pitch/diameter. Carefully place your seat in your car, and use the 4 remaining M10 flange nuts to secure the brackets in place, if you're happy with the location.
Extra
I decided I wanted a handy place for a fire extinguisher, and it actually fit quite well. It never intereferes with my driving. Files and photos are attached! I just used a QR bottle mount from Amazon
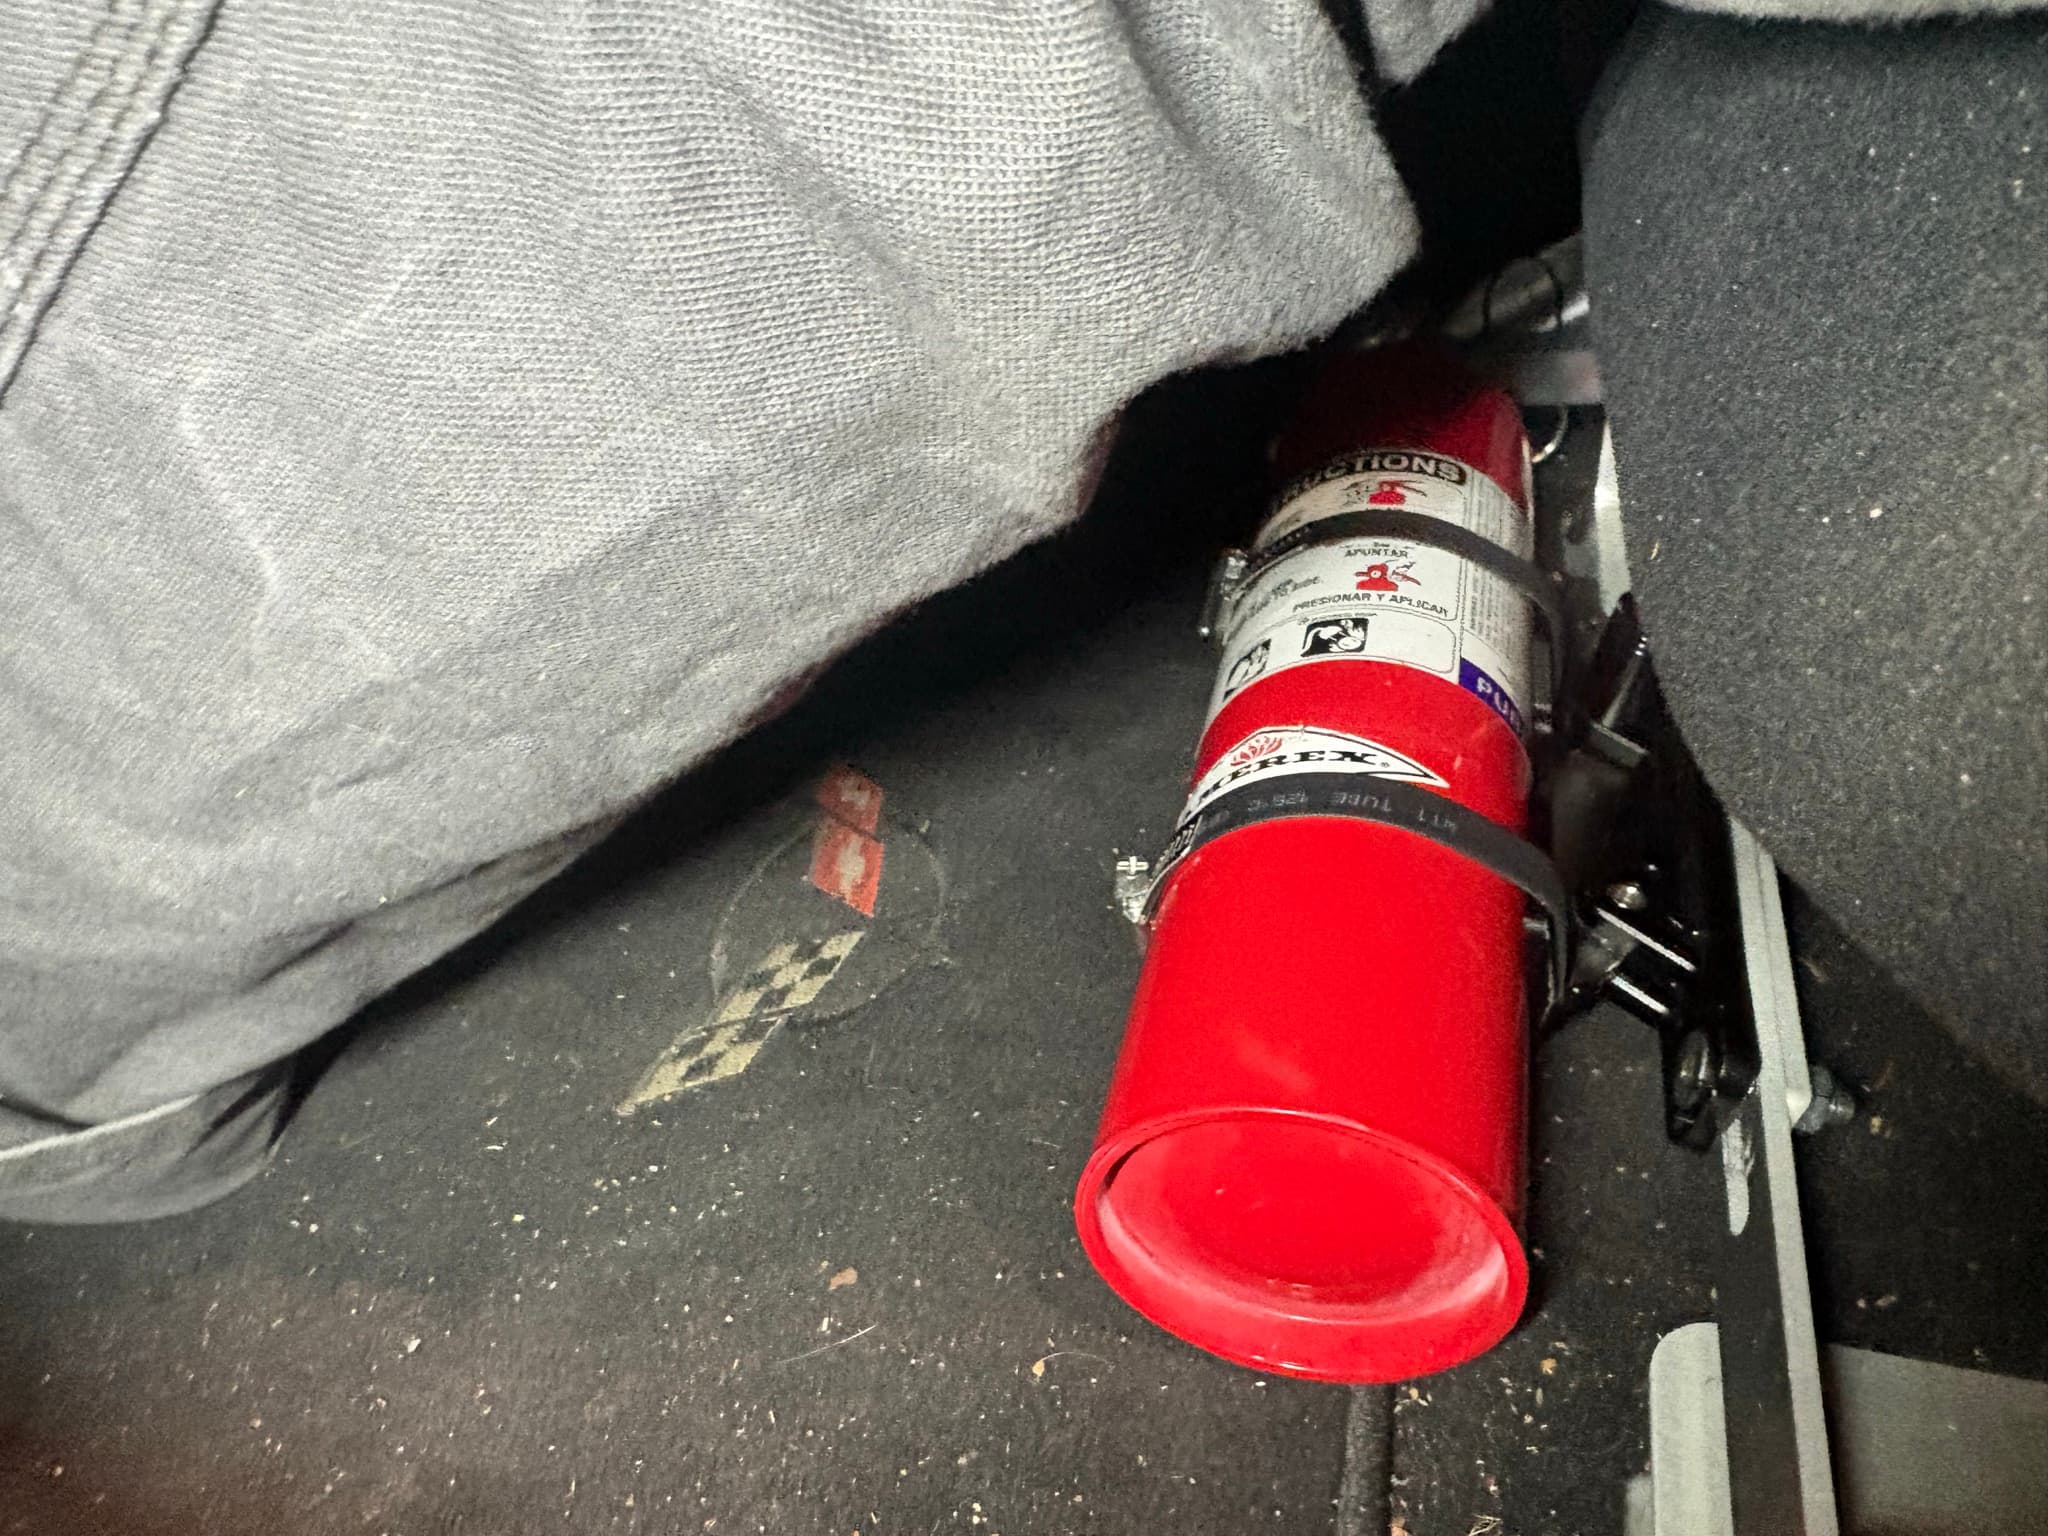
Other thoughts
A sub belt hardpoint could be made for this set up pretty easily. I might get around to it, but my seat doesn't have one cut in it, so I haven't bothered. But it's open source!! Make something cool and post it!!
C5/C6 Seat Bracket Kit © 2026 by Cameron Mills is licensed under CC BY-NC-SA 4.0. To view a copy of this license, visit creativecommons.org